튜토리얼 - 가이드 투어
https://www.jenkins.io/doc/pipeline/tour/getting-started/
Getting started with the Guided Tour
Jenkins – an open source automation server which enables developers around the world to reliably build, test, and deploy their software
www.jenkins.io
Jekins 다운로드 및 실행
https://www.jenkins.io/download/
Jenkins download and deployment
Jenkins – an open source automation server which enables developers around the world to reliably build, test, and deploy their software
www.jenkins.io
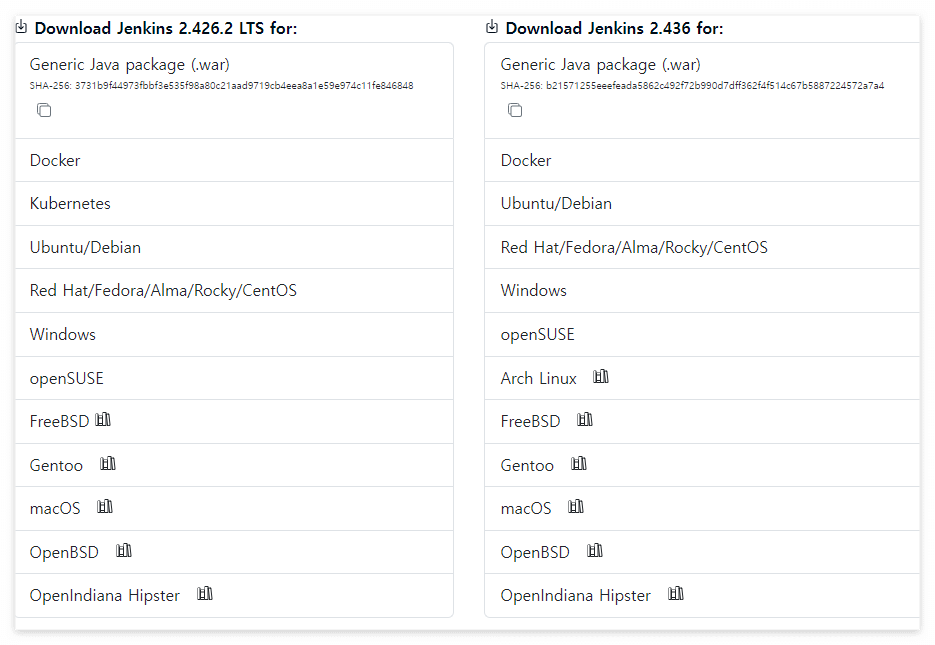
1. 위의 링크 클릭, Java 패키지 (.war) 파일 다운로드 진행
2. 다운로드 디렉토리에서 터미널 열기.
$ cd [다운로드 파일 위치]
$ java -jar jenkins.war --httpPort=8080
3. 비밀번호 입력

4. Hello Wolrd Jenkins! 😀

5. 설치 완료
Jenkins Pipeline
https://www.jenkins.io/doc/pipeline/tour/hello-world/
Creating your first Pipeline
Jenkins – an open source automation server which enables developers around the world to reliably build, test, and deploy their software
www.jenkins.io
1. http://localhost:8080 서버에 접속하면 2개의 버튼이 화면에 노출된다.
- Install suggested plugins -> 젠킨스에서 기본으로 제공하는 플러그인 전체 설치
- Select plugins to install -> 사용자 정의 플러그인 설치
젠킨스에서 기본으로 제공하는 플러그인 설치 진행.

2. 플러그인 설치 완료 후. 관리자 계정 생성

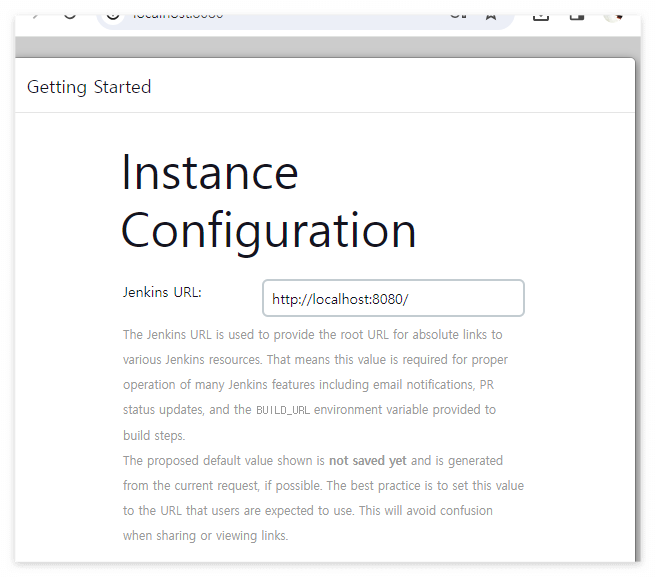
3. 젠킨스 루트 URL 설정
Jenkins URL은 다양한 Jenkins 리소스에 대한 절대 링크를 위한 루트 URL을 제공하는 데 사용됩니다. 즉, 이 값은 e-메일 알림, PR 상태 업데이트 및 빌드 단계에 제공되는 BUILD_URL 환경 변수를 포함한 많은 Jenkins 기능의 적절한 작동에 필요합니다.
표시된 기본값은 아직 저장되지 않았으며 가능하면 현재 요청에서 생성됩니다. 이 값은 사용자가 사용할 것으로 예상되는 URL로 설정하는 것이 가장 좋습니다. 이렇게 하면 링크를 공유하거나 볼 때 혼란을 피할 수 있습니다.
4. Jenkins 페이지 진입
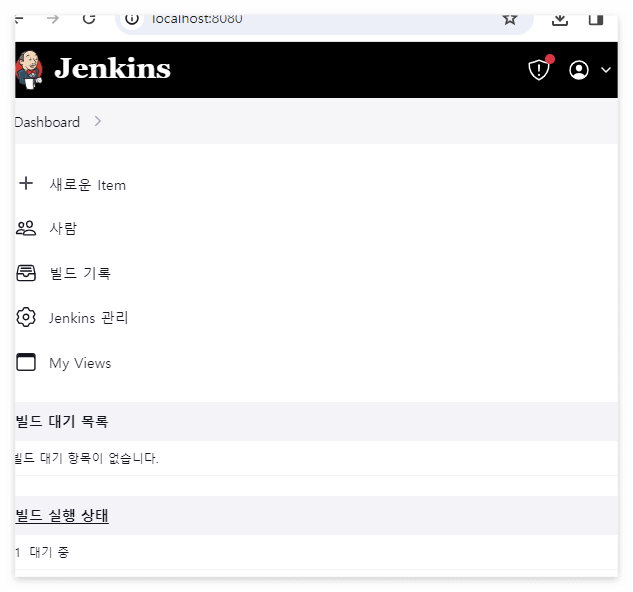
5. "+ 새로운 item" 클릭 후, 보여지는 페이지
- Enter an item name -> 새로운 항목 이름 입력
- Multibranch Pipeline 선택
- 완료.

6. 젠킨스 빌드 실패함. 계속해서 진행